I love baking with nuts and seeds. I’m not one for mucking about with a gazillion flours. I don’t fancy precious pantry space being taken up by 20 different flour varieties. I’m cautious of uber-starchy flours because the particles are so fine that more ends up decorating the kitchen bench than ends up in the batter.
When I fore-go grain-based flours in favour of nuts and seeds, I don’t have to worry about bitterness (*cough* quinoa *cough* flour) or a sickening starchy aftertaste (sorry potato flour you starchy little bugger) that both mum and I find induces nausea – not ideal.
That’s not to have a dig at other gluten-free-free flours. I do use banana flour, oat flour and buckwheat flour on the regular, but Mamma T is in love with her Almond meal. And what Mamma T loves, Mamma T gets. No one in our family is allergic to nuts or seeds and we love the convenience, taste and nutrient-density (think magnesium, fibre, beneficial fats, calcium, manganese etc.) that these flours (or “meals”) bring to our favourite treats.
The only draw back is that nuts and seeds are pricier than grains/starches – especially if you buy them in a ready-made flour form. That’s why we buy raw nuts and seeds in bulk and mill them ourselves. This requires a high powered blender or food processor and a few minutes of your time.
The nutrients in nuts and seeds are preserved for longer when they are allowed to remain in their whole food state for as long as possible. Milling and using them straight away is preferable to buying pre-ground varieties. Not that you should feel guilty for buying pre-made nut/seed meals. It’s just something to think about in case you feel inspired to make the switch.
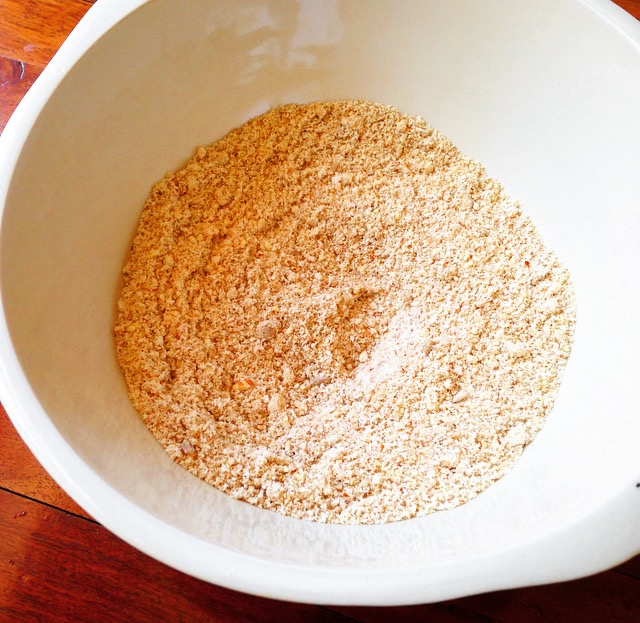
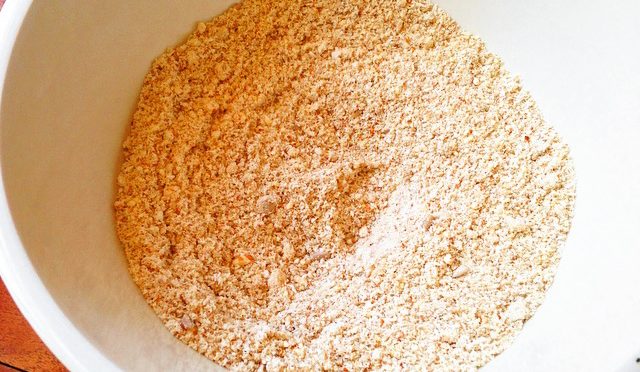
Homemade Nut/Seed Flour
Makes approx. 250g
- 1 cup raw whole nuts and or seeds of choice* (almonds, sunflower kernels, pepitas, pecans etc.)
Method
Place nuts and/or seeds in high-speed food processor or the dry-container of your high-speed blender (e.g. Vitamix dry container). Blend on medium high – I used Vitamix speed 7 and whiz until the nuts/seeds resemble a flour consistency. You may need to stop the motor and move the mix a round a bit to get an even blend (as the natural oils are released from the nuts/seeds, the mix can clump in parts).
Preferably, use immediately, or store in a recycled glass jar in fridge for up to 2 months.
*Feel free to use activated nuts if you eat a lot of nuts and seeds (to remove the anti-nutrients) or if you have digestive troubles. Activating involves soaking nuts and seeds for 12 hours in filtered water (softer nuts such as cashews and macadamias only need 4 hours), draining and drying in a slow oven until dry and crispy. The soaking breaks down components of nuts and seeds that can inhibit nutrient absorption.
Notes
For a finer, whiter flour, used blanched almonds, raw macadamias or raw cashews
Try to to bake nut/seed flour recipes below 170 degrees C (lower, more like 150 degrees C is preferable) to protect the natural fats from rancidity
Find an abundance of tried and tested grain-free baking options on my “grain-free” page