
I’ve finally mustered up the confidence to make my own sauerkraut! I’ve heard scary things about fermenting your own cabbage – mainly that it can go very, very wrong and go off and smell all kinds of awful (like after your dad’s been to the bathroom – yep that kind of awful). But I figured if I can ferment my own cream then I can surely ferment some cabbage and I’ll never know until I try, right?
Well, it’s day two of the fermenting process and it’s smelling fine (well if you consider the regular smell of fermented cabbage ‘fine’ – it can be a bit pongy but if you’ve tried it before you’ll appreciate that it tastes way better than it smells … thank goodness!).
The actual preparation process was super-duper easy and actually quite therapeutic … nothing like coming home from a busy shift at work to a large bowl of cabbage to massage (winks).
To make the sauerkraut you will need
- 1/2 head of organic cabbage (I started with a small batch … just in case, next time I’ll probably use a whole head)
- 1/2 tablespoon of good quality salt (I used herbamare – a type of sea salt infused with garden veggies, herbs and kelp)
- A (clean) large jar – I just used a recycled peacelove&vegetables sauerkraut jar (I go through at least two a week!)
Method
- Shred all of your cabbage up into thin strands (remove the stemmy parts – they’ll be a bit tough and bitter … not ideal). Reserve one cabbage leaf for later … you’ll see why below
- Add all of the cabbage to a really large glass or ceramic bowl (not plastic – you don’t want any chemicals leaching into your food!) along with the salt and start massaging the salt into the cabbage. Keep massaging for 10 minutes, or until the cabbage (that was raw and firm) has become very soft and wilted and there is loads of juice in the bowl
- Pack all of the cabbage into the jar, pushing down firmly to ensure that the juice is covering all of the cabbage at all times (it needs to ferment in an anaerobic environment – an environment without oxygen). Place the reserved cabbage leaf on top and press down again so that even the leaf is submerged in the juice (this leaf acts as a weight to keep the rest of the cabbage below submerged – you’ll discard it once the sauerkraut is ready to be refrigerated
- And that’s all folks! Then just leave it at room temperature (I’m storing mine in my bathroom cupboard … just in case there’s any unfortunate ‘rooky mistake’ explosions, I’d rather it just effect my bathroom rather than the kitchen which is a central hub) for at least one week and up to 6 weeks (for a stronger, more medicinal sauerkraut). The best way to check it is to open the lid each day, keep making sure that the cabbage is fully submerged in the juice and after 7 days start tasting it.
Ways to use your sauerkraut …
- Simply add a spoonful to your plate at meal times
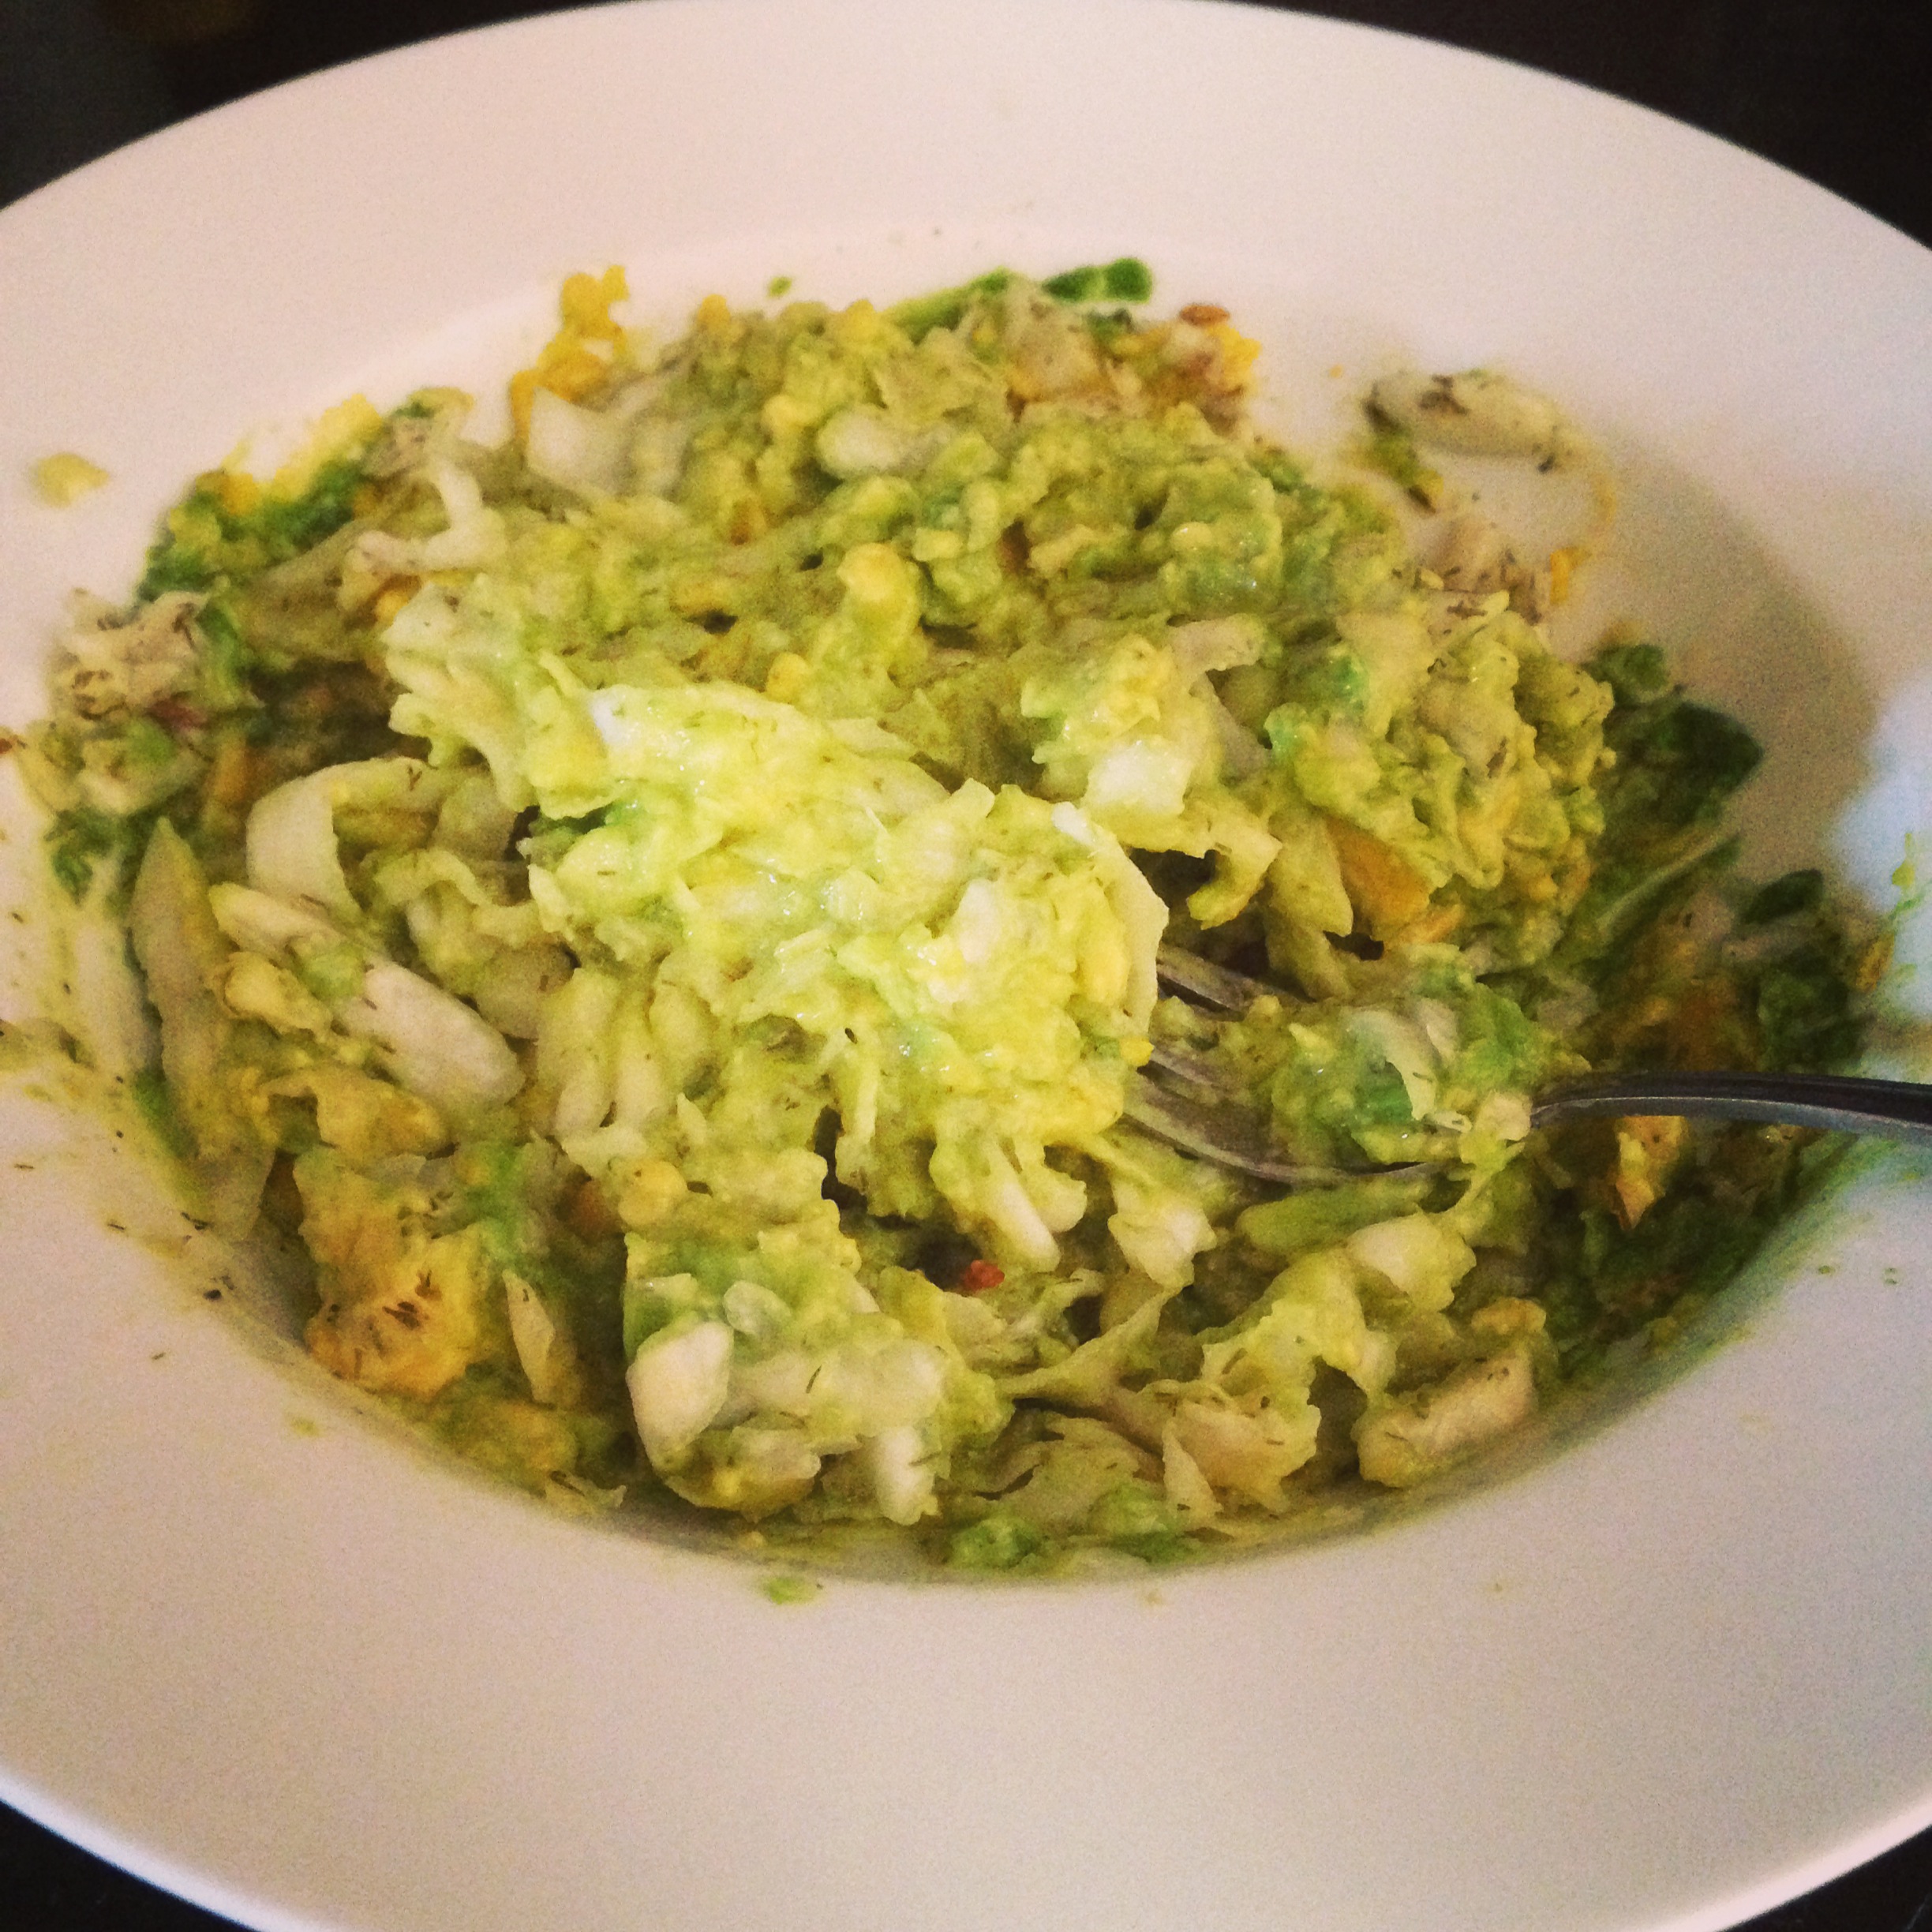
- Mash a whole ripe avocado and stir a cup of sauerkraut through for an instant “creamy” (and tangy) salad
- Stir a cup through a few spoonfuls of sour cream
- I love roasted pumpkin cubes, avocado chunks and sauerkraut – it’s just the perfect balance of salty, sour, sweet and creamy
Update: this batch worked out fine! It was yummy and didn’t make me sick – not as good as bought ones but this was my first try. The more I do it the better I’ll get, plus I didn’t add any extra flavours. It’s always better with something o make it sing; such as grated beetroot, fennel seeds etc.